Organizing Your Tiny Closet


When you have too many clothes but too little space in your closet, sometimes organizing is a dilemma. Not to mention the hassle every time you pick clothes before you leave for work.

Here are tips to make the most out of the space available.

  1. Make use of every inch of space. That doesn’t mean however that you have to stuff everything inside haphazardly. Keep your things organized because you don’t want your stack of clothes to fall over you whenever you open the closet.


  1. Separate your clothes according to type. Your T-shirts should be stacked separately from your sleeveless shirts and long-sleeved shirts. This will make it easier for you to look for the type of clothing you need. Your pants should also be separate from your shorts or skirts.


  1. Stack them neatly by rows. Stack your clothes in rows with one at the front and another at the back if there is enough space. When you’re done using all the clothes in the front row, exchange them with the row of clothes at the back.


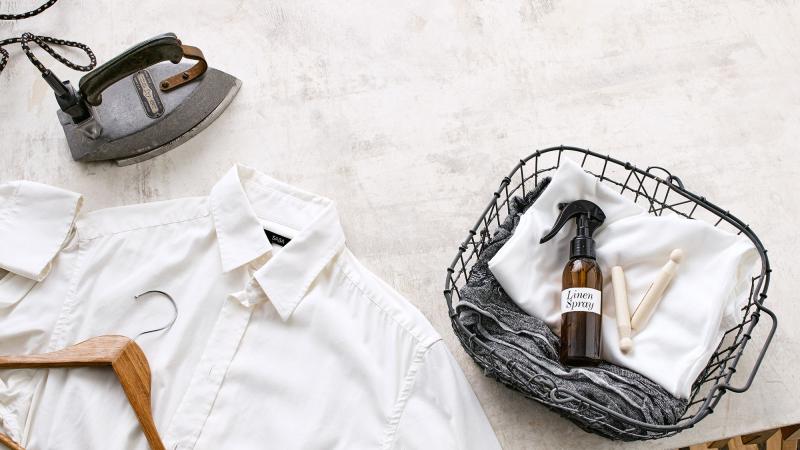
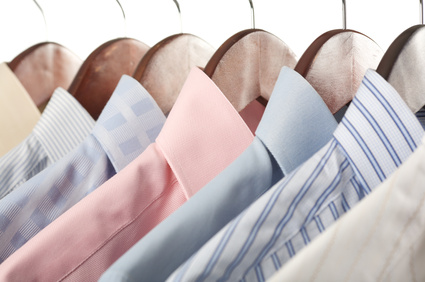
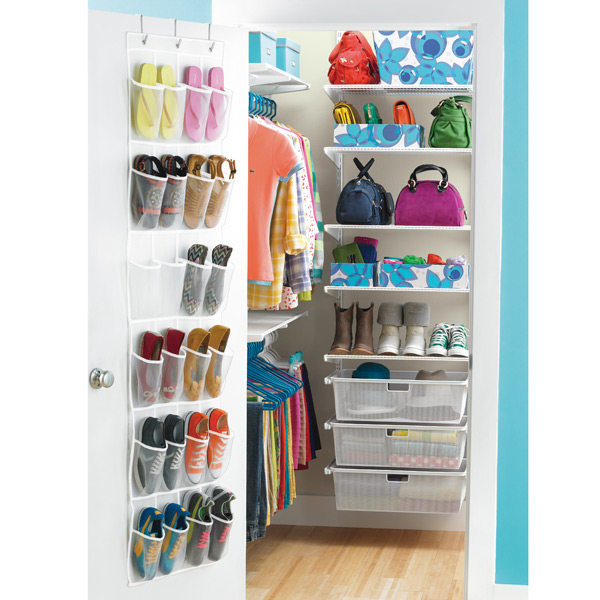
  1. Make use of hangers and organizers. Hang clothes made of materials that easily wrinkle. Folding them will make ironing trickier. There are tiered hangers, cascading hooks and and organizers that you can hang inside your closet. Fasten these to the doors of your closet to maximize space.


  1. Store bags properly and separately. Your bags might be bent out of shape if not stored properly. To keep their shape, stuff them with tissue or paper. Don’t hand them but they should have a shelf on their own. Don’t mix theme with other clothing.

  1. Fold and organize your underwear. Folding your underwear can save space, but don’t fold your brassier. Stack them horizontally so the cups don’t get distorted. Roll your socks by pairs so they take up less space and are easier to find. They should be separate from your tops, bottoms and other things.


  1. Use organizers for your shoes. If you don’t have a separate closet for your shoes, make use of the lower half of your closet. There are tiny shoe organizers where you can hang your shoes. Some may prefer to keep them in boxes but these take up a lot of space.


  1. Hang belts, scarves and hats. Install hooks on your closet door. There are types of hooks you can buy singly or you can also use rods. Separate belts from scarves and from hats so they also look nice.


  1. Store small items in boxes. Don’t mix smaller items with your other things. You will have a harder time finding them if they get mixed up. Use old boxes or jars or buy space-saving organizers in shops. Accessories and jewelry should be stored separately as well.


  1. Install shelves, rods and hooks. If there is still enough space, install any one of these to make use of all the space available. There will still be enough room if you decide to buy more clothes or accessories. Just make sure the stacks don’t weigh too much and there’s still enough space to rummage through every stack.

Ironing Your Clothes Properly


Ironing clothes seem complicated for some people. The dials can look confusing, but they’re not that difficult to understand once you know what they’re for.

Before Ironing. You need a proper setup before you begin. You will need the following: iron, ironing board, and spray bottle with water. There are types of irons for different needs. A basic clothes iron will do for any task. They are cheap too. Ironing boards have materials that are flame retardant. Pick one that you can store and use easily.


Identify the Fabric. If you need to iron a pile of clothes, group them according to the type of fabric. Some irons usually have a guide on the dials for the type of fabrics. If you don’t know what the fabric is, check the label on your clothes. The label usually has instructions for the proper iron setting that you should use.


Thermostat Settings. To avoid damaging the clothes, especially printed shirts, flip the clothes on the wrong side so that you can iron at the back. The lowest iron setting is used for acetate. The highest setting is for cotton and corduroy. Some irons have temperatures printed on the dial instead of numbers usually from 1 to 7.


Ironing your Clothes. Begin with clothes that require the lowest temperature then slowly move up to the highest. Switching the temperatures will require a few minutes for the iron to cool down before you can use it again.

Ironing Shirts. When ironing shirts, start with the sleeves. Make sure you open all the cuffs and undo the buttons. Next, do the collar if there is any. Just like the sleeves, it should be layed flat when you iron. Finally, iron the rest of the shirt.


Ironing Pants. Line up the stitches properly before you start ironing. Start from the bottom of the pants. If you want a crease, fold each leg equally by aligning the stitches and the seams. The same procedure can be done for your shorts.


Ironing Skirts. If the skirt flares, start at the bottom. The pleats in a pleated skirt should be ironed singly. Some skirts are made of fabrics that do not need to be ironed. Some also have creases in the design.


Ironing Wrinkles. Spray water on fabrics that are too wrinkled. The steam created when pressed will help flatten the wrinkles. There are irons that come with a spray head for easy use. There are also sprays available in the market that are made specifically for ironing.


Starch Spray. Some people want that crisp look on their shirts. You can make a starch spray by mixing water and cornstarch in a spray bottle. Remember to spray lightly and don’t use too much heat when ironing.


After Ironing. Hang your clothes properly in a hanger when you’re done. Don’t leave the house before unplugging the iron. Make sure to also empty the water compartment in the iron if it has any. The ironing board can be folded and stored in a closet.